I still own more than a few CDs, and have not had the opportunity to listen to them due to the fact that I don’t own a CD Player, at least not a decent one, and occasionally I will still purchase the odd CD here and there. I have a Blu-ray player that can play CDs, but to get the best out of them, I am hoping to acquire something more dedicated to the task.
Obviously, I can just go out and buy a CD player, but since I like to design and build things, I thought it will be fun to try and make one, even if it is just a fun project and does not turn out to be the greatest of machines. But you never know if you don’t try, maybe it will surprise me…
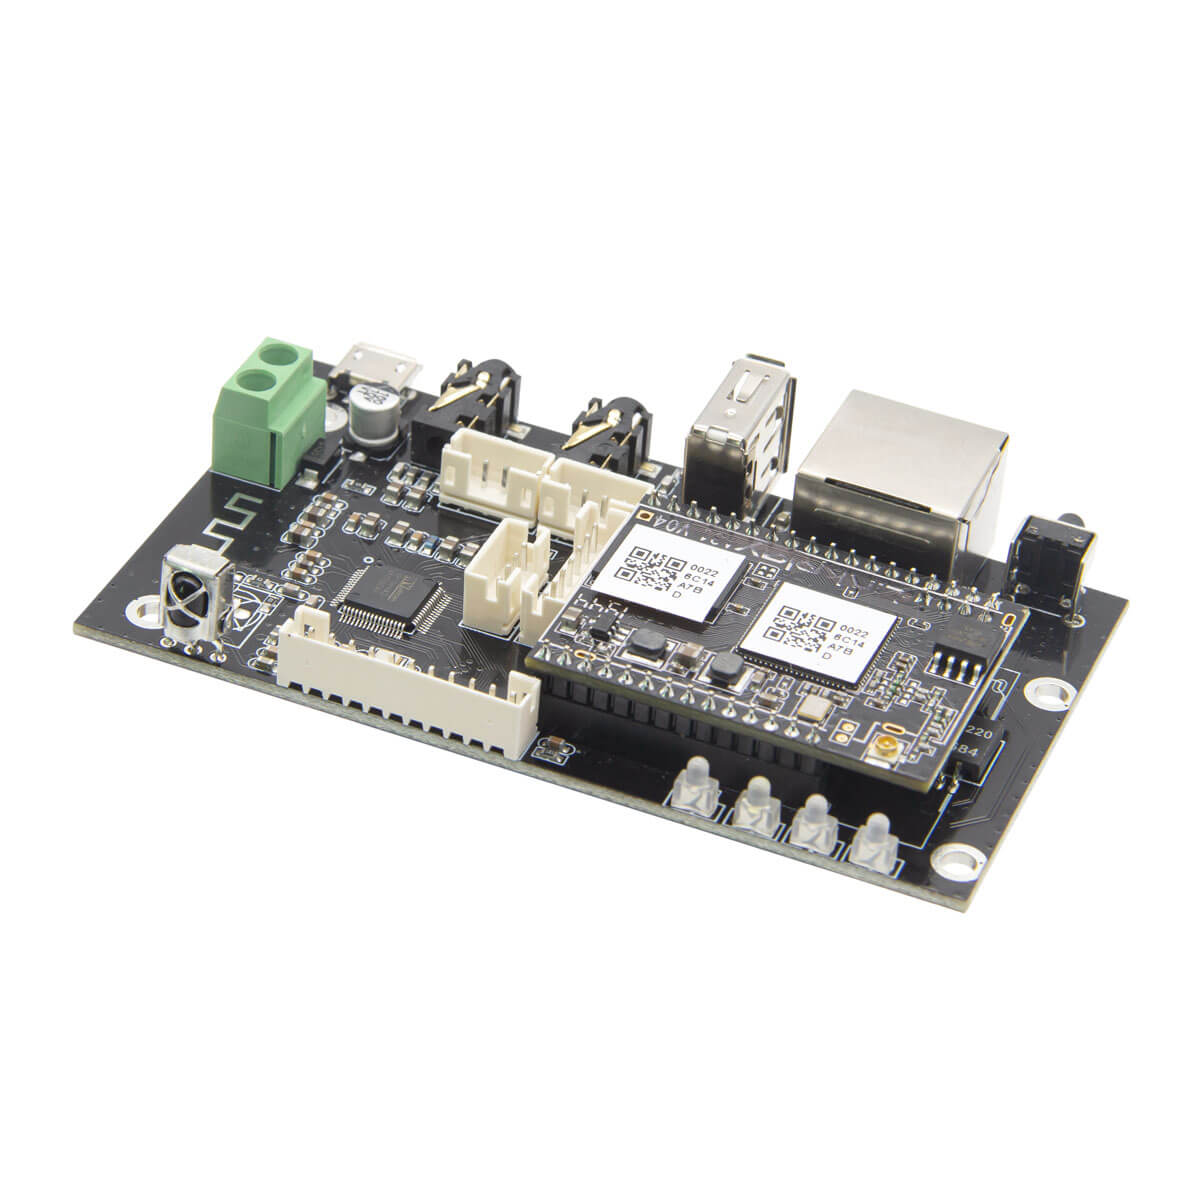
Some time ago I came across a CD Player controller on Aliexpress. There are quite a few versions, but I settled on this one for no particular reason.
This type of controller will allow you to control an IDE CD-ROM drive, the type we used to get in our PCs from days past. It comes with the IDE cable, a 5V power cable and a handy remote control. It has a screen to show the current function, such as the track currently playing, with buttons to play, pause, skip forward and back, and an eject button.
The challenge is that there are not many new good quality IDE drives in production anymore. Most of them now use the more modern SATA interface.
But, going through my stack of some old computer parts salvaged from PCs long forgotten, I found a SONY DVD drive which still looked like it might be in a good enough condition to work, and hopefully will prove better quality than the cheap and few IDE drives that are produced nowadays. Of course there are secondhand options on eBay, but you never really know what you gonna get.
The first thing to do was to check whether I could actually get this to work, before going ahead and designing an enclosure and building it. With the help of and old PC power supply I could connect up the drive, the controller, insert a CD and see what happens. To my delight it worked! The DVD drive did seem to have a few rattles, but perhaps that is something I could sort out later by giving it a once-over service.
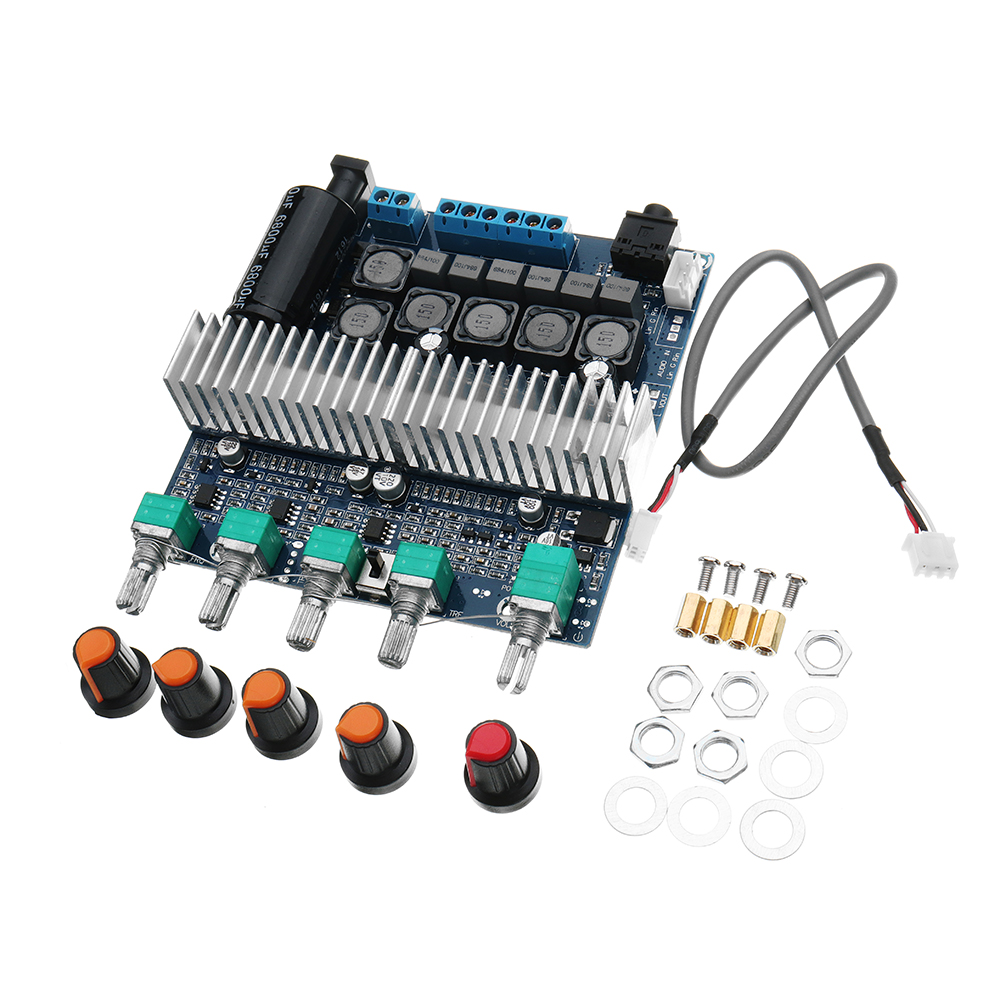
The next step was to see if I can build a smaller power supply for the drive and the controller. I found a circuit online, designed the PCB and then sent it to JLCPCB to manufacture.
The components for the power supply board was purchased from RS Components. The board supplies 12V and 5V, which is what the CD drive needs for power. The 5V is also used to power the controller board. Assembly is easy and quick and the board came out looking really good. Now, I have limited experience with electronics, but know enough to at least be able to design a simple PCB board and solder components to it. I also know how a power supply circuit such as this functions and what the different components do, however I should have probably done a bit more homework as to the suitability and capability of the board to do the job required.
After connecting all the different components, the transformer, power supply board, the drive and the controller, I was delighted that the unit powered up and I could pop in a CD. The excitement was short lived however, as the CD drive started to stutter and eventually stopped spinning. The display on the controller also went blank. Touching the regulator heatsinks on the power supply board, I noticed the 5V regulator was getting very hot. Nothing exploded or started to emit smoke, so no long term harm seems to have been done to the circuit. My conclusion though is that the power supply is just not able to handle the current required to run the CD drive.
So, disappointed I had to abort using my proudly self-designed PCB board and come up with another plan. After some research I found a 12v and 5v all-in-one switch mode power supply from Meanwell on RS Components that can handle higher current, and placed the order.
In the meantime whilst waiting for that to arrive, I decided to go ahead and put some effort into designing an enclosure.
The enclosure is a very basic draft design. Materials are aluminium top and bottom plates, with real wood sides. Not sure yet what the front and back panels will be. The green block represents the CD drive, the blue the switch mode power supply, and the red is the controller board.
I power up this CD player with the PC power supply, connect it to my integrated amp to get a sense of what this will sound like.
It does not sound half bad, in fact it sounds good enough to go about the effort to actually try this. One thing I did notice though, is when switching between the internal DAC of my integrated amp and a external DAC, the sound quality just shot up by miles. Essentially what I have here is a CD transport rather than a CD player. The difference is that it will not have an internal DAC with RCA cables out to the amplifier, but rather a digital coaxial out straight to the DAC and then back to the amp. The benefit of this is that when I upgrade my DAC, the CD transport gets an automatic upgrade as well.
The two factors that will make the biggest difference in the quality of the sound will no doubt be the quality of the CD drive and the quality of the DAC. If you can find a really good quality IDE CD drive, and already have a good DAC, then you are well on your way to being able to make a decent sounding CD transport that is probably good enough for most people’s needs, that is if you still own and listen to CDs.
Thanks to all my fantastic Patrons and YouTube Members for their support, and please consider becoming a Patron or member to get more exclusive and behind the scene content. Links are in the description.
A big thanks to JLCPCB for sponsoring this video. Keep your eyes open for the next video in this CD Player build series, and until next time, Adios!
